

When making the blanks for the cams I made them about 1/64” thicker than needed for a couple of reasons. First, if they warped any I had some room for correction and second is to give me a little extra just in case the dado for them ended up a little wide. Well, the pieces didn’t warp but the dado ended up being about .004” undersize. In order for the cams to move freely they were thinned down so they are about .006” smaller than the dado. That’s done by placing the cam blanks on a carrier then running them through the thickness sander. The bottom photo shows the blank in the carrier.

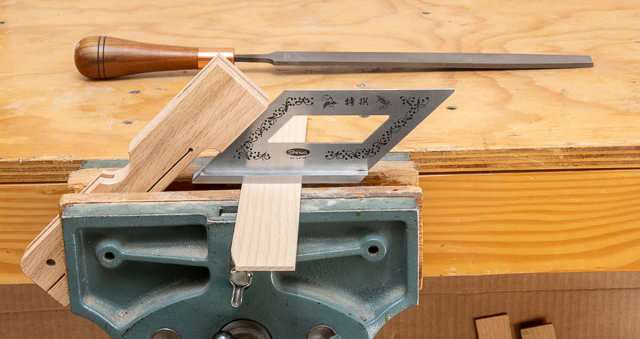
The cam pattern is traced onto the blank, cut out on the
bandsaw, rough sanded with the disk sander then hand sanded smooth. Here is the pattern, blank and shaped cam. It’s not completed as plans are to soften
the edges with either a chamfer or radius, I just don’t know which yet. The small hole in the cam is the same size as
the marking punch which allows me to do testing for the fit. The cam and the jaw get drilled out to ¼”
next followed by the final fitting to get the right amount of travel for the
pressure pad.

Routing a little chamfer on the jaws and the cam come
next. Here is how that looks while being
done on the router table.

All of the edges can be done except for the upper and
lower corners where the aluminum bar goes through the end of the jaws. They are done with a fine-tooth file. To do that they get clamped in the bench vice
at a 45-degree angle. That allows me to
use the file level and not worry about what angle it needs to be held at. I can just concentrate on getting the right
depth cut.
This is a closeup of the chamfered edges.

Measuring the aluminum rods for the pins that will secure
the jaws to the aluminum bar is next. A
dial caliper is used set to the thickness of the jaws. The sharp point of the left jaw scribes a
line in the softer aluminum for the required length. The black arrow points to the scribe mark and
helps me find it when getting ready for cutting.

The rod is clamped in a metal working vice that has a
couple of thin boards that act as a cushion between the vice’s jaws and the
rod. They keep the teeth in the jaw from
marring the rod. The actual cutting is
done with a hacksaw. The top photo shows
the vice and rod while the bottom one shows where I have started the cut. If you look closely you can see just a tiny
bit of the black mark on the right side of the cut. That’s how much oversize the rod is cut to
allow for swaging and cleanup.

After the pin is cut then filed smooth and square it’s
ready to be installed. Below shows the
prepared pin and bottom jaw.

Installation is done by lightly tapping the pin in until
it’s started then driving it in place until it is a little proud on both
sides. In the photos below you can see
how the pin stickes out just a tiny bit.
Next is to sit the piece pin side down on the anvil part of the vice and
give the upturned pin end a good whack.
That spreads the pin just a little increasing its diameter and locks it
in place.

Once the pins are set a drop of cyanoacrylate (Super
Glue) is added as insurance they won’t loosen. They are then filed smooth with the jaw’s face
and sanded to remove the filing marks.

At this point all the pieces are ready for Danish Oil
finishing. Here are what the two clamps
now look like. As you can see the cams
are not yet installed. That’s because if
they were pinned in place then it would be next to impossible to finish
them. Once finished the ¼” pins will be
cut and installed just like the others.
I do realize that the filing and sanding of the pins will probably mess
the already applied oil finish up some around them. This is not a problem because the oil finish
can be reapplied easily now or in the future if the clamps get banged up and
will blend in just fine.

Putting on the Danish Oil really brings the color and
grain out. This photo is after I have
put on two coats. That’s it until they
have had a chance to cure for a few days and I take a close look to see if it’s
time to install the handles then go back and add another coat. In looking at the clamps the next day, they
needed a third coat.

Once that was applied and left to cure for a couple of days the axel for the cam gets cut and installed just like the other
pins in the jaws. Surprisingly when
filing the axel flat the oiled finish on the jaw was hardly scratched but for
uniformity, I gave it another coat of oil.
When that had cured for a couple of days it’s time to put the pieces
together and add the last pin. This pin
goes at the top end of the aluminum bar to keep the upper jaw from sliding
off. It’s not very big at only 3/8”
long. The first difference is that
because it’s not flush, I needed to put it in a scrap to file the end square
and flat.

Because the edge of the pin is very sharp it needs to
have a small chamfer added so it won’t cause problems in use. That’ done on the lathe by chucking the pin
up in a small chuck then using a file to add the chamfer. In the photos below you can see the pin
chucked up and below that on the left is the squared off pin end while on the
right is after the chamfer has been added.

Drilling the hole in the top of the bar is next. Once laid out a punch is used to make a
dimple that acts as a starting point for the drill keeping it from moving
around.

After the hole is drilled the pin is inserted, centered
in the bar and is ready to be locked in place.
To do that a spacer the thickness the pin is expose is set on the
vice/anvil. The pin is set in a hole
drilled in the spacer and the exposed pin struck with a hammer causing it to
expand in the hole locking it in place. For insurance the clamp is flipped and the
other end of the pin gets the same treatment.

There remains only one item before they are finished and that is a cork cushion on the jaws. I had been looking around locally to no avail but found some on-line that are 12” X 12” X 3/16” thick pieces in 4-packs at a reasonable price. That gives me about 50 times the amount of cork I need but they do the job and I can probably use them on other future projects.

Here are the clamps showing how they would clamp things together.

All in all the build was fairly easy and did not take a lot of time. It also put to use the leftover aluminum bars that I had. Now they will go in the clamp rack along with the rest of my clamps.
No comments:
Post a Comment