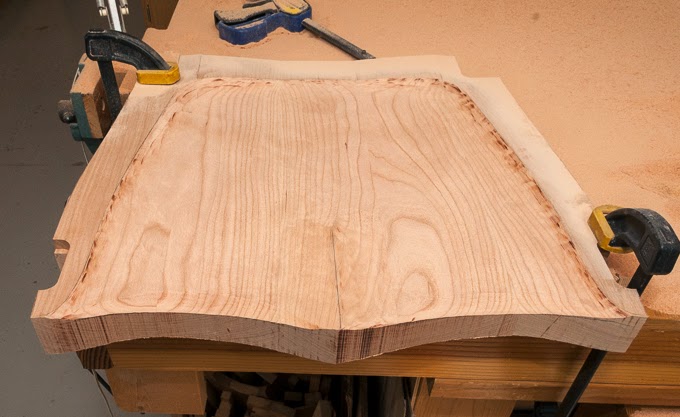
This week the post is fairly short. However, the time spent in hollowing out the seat and getting it to a smooth flowing surface was not. My description and photos of the work needed are brief because I don't know of many people that would find a lot of photos of me using a scraper and hand sanding interesting.
After letting the seat cure overnight I took the clamps off
and now am ready to get started on the sculptural shaping of the seat. Well almost, I have to cut the seat to shape with the
bandsaw but before I can do that I need to add an auxiliary table to the
bandsaw because the regular table is not big enough.
Unfortunately, while cutting the seat to shape I got a bit
of a nasty surprise.
On the outside edge
near the right rear of the seat not visible and buried within the board was a
knot. I do not know if it will get cut
away as the seat is sculpted, I sure hope so.
If it does not then I will have to do something with it.
Next is to get the grinder out, mount the coarse toothed
carbide wheel on it and make the sawdust fly.
The grinder runs at about 11,000 rpm and really chews through the
wood.
The cherry cuts a little slower
than the pine but a light touch is all that is required to do the work.
Once I had the shape roughed out I moved on to the less coarse (50 grit)
disk mounted on the grinder. This is a
little less aggressive and allows for some refinement of the shape and the creation of the smooth gentle curves at the bottom of the seat.
From there it’s on to the random orbital and pad sanders
using 80 grit paper to continue smoothing and refining the seat. The transition at the edge of the seat bottom
is a small radius curve not really conducive to the use of power tools. To refine and smooth this curve I ended up
using a curved scraper plus a couple of socket wrenches out of my mechanics
tool set wrapped in sandpaper.
At this
point the shape of the seat is pretty well set.
From here on the finer grits are used not so much to shape as to remove
scratches and prepare the surface for finishing. I worked my way to 220 grit then stopped, for
now. You would not believe the pile of
sawdust I ended up with, just on the workbench that was generated in sculpting
the seat.
The next to last bit of work on the seat in this step is to
route a ¾” radius on the bottom edge of three sides. The radius is stopped short of the leg joints
to allow for sculpting of the transition between the seat and the legs.
 As you may guess the final part of this step is to take a
couple of hours cleaning up all the sawdust that gets EVERYWHERE!!
Next Up – The Legs


No comments:
Post a Comment